Pages

Search This Blog

Showing posts with label DIY. Show all posts

Monday, March 16, 2015

How-to: DIY text heart with MSWord & Paint

Like every other social media addicted girl, I turned to Pinterest when I was looking for ideas for a gift as a token of celebration of our first year as a couple. The gift idea morphed into a DIY project as I scrolled through search results for "anniversary gifts for him".

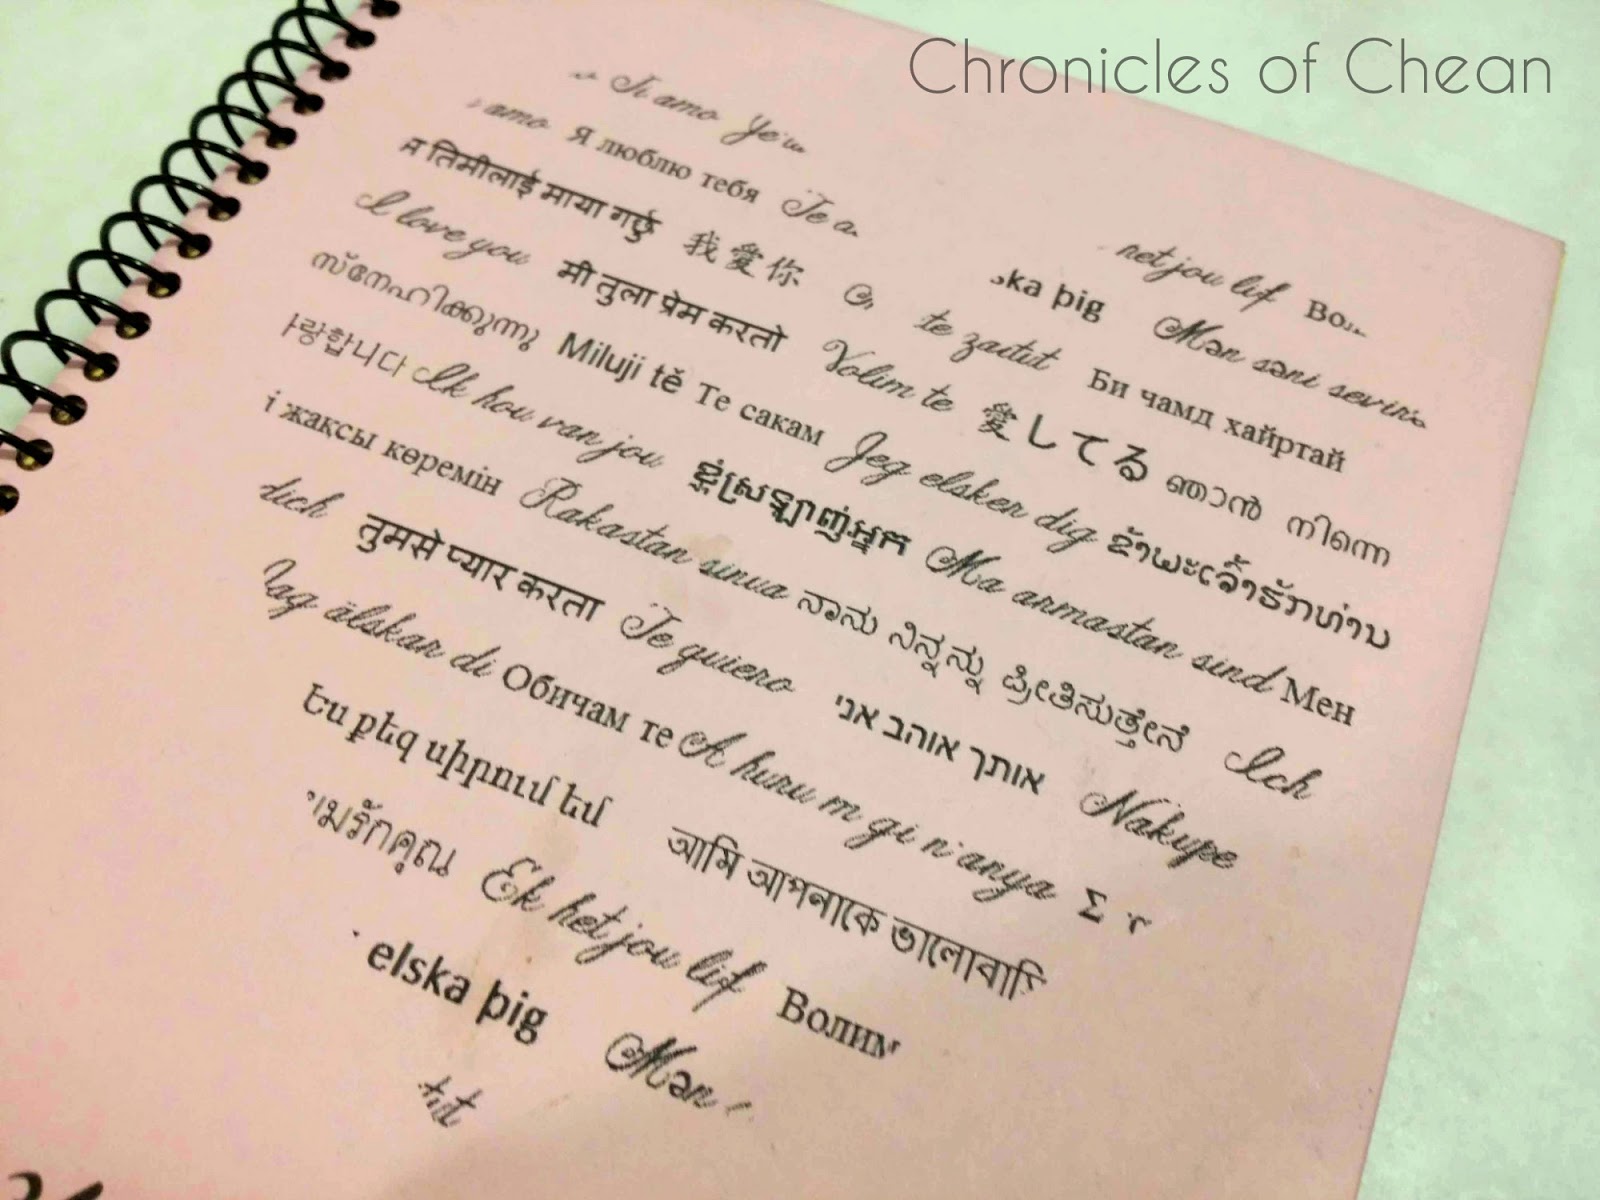
The next idea was a heart made completely out of words, and ideally, all these words should say "I love you", and in different languages for an interesting twist. Kind of life a play on typography (you design peeps understand).


I didn't read much into it, though - I got what information I could from the pin, and didn't search any further and kinda hit-and-missed my way through doing the entire thing.


If you have PhotoShop or Illustrator, I don't think this would be much of a problem. However, for those less equipped (such as my humble self), here's one way to do it using Microsoft Word and Paint.


1. Decide which languages you want to use and get them in their native calligraphy/writing


What I did was just get a bunch of "I love you" translations off Google Translate for a half hour. My SO has a thing for Vitas, so I made a point to include Russian, and the more obvious English, Mandarin, and Korean.


Get all your text and put them into one Word document. You could do it straight in Paint, but doing it in Word first gives you more room for creative typography in terms of color and sizing. Try to have the words you want to stand out within the shape of the heart - a rough estimate would do, but try to center the key words.


2. Ctrl-C + Ctrl-V + Ctrl-S

Get in a full page of text (I had a couple of lines repeated), edited it in color and/or size as you like, then select it all, copy, and paste it into Paint. I changed the font, evened out the text sizes, and justified the spacing, but left it all black.


Adjust the size of the canvas to fit the text. Once you're happy with the overall fitting, save it as a PNG file.

I saved mine as a JPEG file, while turned out a little pixelated when I continued to process and print it. Usually, PNG is used for electronic publishing, and JPEG for printing, but since I still had to use the image it should've been saved as a PNG.


3. Put the words into the heart

Draw the heart while holding down shift for a nice, square-aligned heart. Then adjust the size accordingly.
Once you have the PNG image saved, draw up a new page on Word. Go to Insert, then Shapes, and find the heart shape. Draw it as big as you want, then change the Text wrap to Square so you can move it easily.

Select the heart and Shape Fill with the PNG you just saved.
Remove the outline to complete the word heart.
I was going to print it for A5 paper, so I resized it to about 11-13cm in width. Set the Shape Outline under the Format tab to None, then click on Shape Fill just above Outline, and select Picture... from the drop menu. From the pop up, find and select the PNG you've saved, and voila!

I used this as a cover illustration, but you could use this for a greeting card as well.
If you're unsatisfied with the result, you can always go back to step 2 to make changes, then follow through until you get the result you like. I used this as a cover for the DIY one-year journal that I made for him.


Ps. The width of the heart in the screenshots are different because I went back to recreate the heart for this post.

Thursday, March 12, 2015

Gift idea for couples: DIY relationship journal

I'm a sucker for gifts, and I like my gifts to reflect the amount of thought and effort that I like to express via my gifts.


Of course, a well-chosen store-bought gift, especially when it is something that your partner has been wanting for a long time but has been holding off on purchasing it, is as good as - if not better than - a handcrafted gift.


For our first year together, I wanted to hand-make something sentimental as a token to celebrate our first year. I Googled "anniversary gifts for husband", and I clicked into a Pinterest page filled with all sorts of DIY gift ideas - from couple mugs, to papier mache picture frames, to quaint personalized gifts. For the life of me, I can't find the exact page, though many pins looked very familiar.

I got a bit of dirt on the cover, and got a little cheesy with the wordings LOL
I bought a ton of colored construction paper because I wanted to do something like a book/album-like thing, but I had no solid idea how to go about it. I combined two ideas I got from that Pinterest page: 1. a relationship journal that serves to chronicle our relationship through the past year, and 2. a unique piece that incorporated the mushiness of a relationship with typography design (how to make this would be in another post).


I made mine in A5 size, because I'm a sucker for cute things, and the size was more suitable since I focusing on some of our more memorable days and moments together, punctuated with a few thoughts handwritten in the blank space.


I used:
  • A4 sized colored paper (approx. 70-80gsm would give nice, solid pages)
  • steel ruler, cutting mat & box cutter
  • scissors & A LOT of double-sided tape (or glue, but be aware that it might leave patches on the paper)
  • printed photos
  • custom-made paper labels
  • black gel pen (I used black because my pages were already colorful)
  • resin stickers (or any type of stickers you like)
  • 1x A4 sized thick card (used as cover)

I wanted to focus more on the highlights of our relationship. We both use a couple app called Between, and we organized a lot of our photos according to date, so I thought why not use that?


Here's the step by step process of getting this project done:


1. Planning

I had to decide which occasions to include and which to leave out, and how to organize them. Then I had to lay down a plan on how arrange the elements. I opted for date and title labels as opposed to handwriting them, because my handwriting gets skewed sometimes, and I didn't know how to make them stand out from the rest of the text.

A rough sketch on rough paper was made for the first few pages - there wasn't any extensive, in-detail formatting, but the titles and dates were to be on the top right of each page.


2. Page arrangement

It might help to have some sort of angled ruler or similar that can help you with the folding. I selected a few sheets of a few colors respectively, then folded all of them in half (one sheet of A4 paper is equal to two sheets of A5).


Fold them all tight, then use the box cutter to slice through them, making two sheets of A5 paper. I arranged all of them in non-consecutive colors, so I won't have two of the same color in the range of 3-4 pages at a time.


3. Photo collecting and printing


From the key occasions that I selected, I chose at least one photo each, from Between, Facebook, Instagram, and my own photo albums. Double and triple check for repeats - I scanned through the photos but still managed to print an extra copy of a few photos.

Select all (Shift-A), right click, then select Print... A dialogue box should pop up, prompting you to choose your style of printing, your printing quality, paper quality, etc. Since my book as A5, the photos had to be small enough to fit into the page nicely. Also, I made sure to uncheck the Fit picture to frame box because I didn't want any photos cropped.

I printed 9 photos to a sheet of 70gsm A4 sized white paper, then meticulously cut each and every one photo from 9 sheets of paper with a box cutter and steel ruler.


4. Custom-made date labels

I have a mild case of OCD where my tables in MSWord has to be all uniform and with adequate spacing. I made one table for each type/category of labels - the dates, the occasion, and I did one for the page numbers, but by the time I had the dates and occasion labels cut out, I gave up on them. LOL


I made a point to use 0.5 point dotted lines as the table outlines so it wouldn't be as hideous when I got round to cutting it. 


5. Adhesive backing

About half to three-quarters of a standard roll of double-sided tape was used to stick everything to the pages - the labels as well as the photos.

For the photos, I used a small square in each corner. For all the labels, a small knob at each end, and one more in the center for the longer ones. I contemplated using the gluestick for this, but I tried it on another DIY venture and the adhesion wore off after just a while.


6. Content

After arranging all the photos in chronological order, I set to work labeling each page with a date and the appropriate occasion title, then the relevant photos. Then each page was slowly filled with any thoughts and feelings that were synonymous with that particular day/occasion.

Every now and then I put in a resin sticker that I got at Mr DIY.


7. Cover and binding

I was aiming for the look of a spiral bound journal-type look, with a wrapped hardcover. What I used for the front and back cover was a piece of A4 thick card that was sliced in half much like the book pages.


I DIY-ed the cover illustration, printed it out, then wrapped it around one piece of the A5 thick card, securing with more double-sided tape. Some extra white paper cut to size was used to cover up the back of the cover. I didn't bother with wrapping the back cover.

As for the binding, it was done at a printing shop opposite my old high school, for less than MYR5.


===


So there it is. My projects usually come out looking almost there but lacking something, but I was proud of this particular one. The cover could've looked better, but yeah.


Hope this served as a reference to some of you guys or gals who's into putting a little sweat and blood into a thoughtful gift for you significant other.


Photos taken with Samsung Galaxy Note 3
Edited with Fotor.com

Thursday, March 8, 2012

DIY Earring Holder

I have lots of costume jewelry, and since I got my piercings, I've been obsessed with earrings. Right now I only have a collection of 6 pairs.


Recently I had to clear out the cupboard that I usually used to store my back-up skin care items, nail polishes, and accessories to make room for my aunt who's coming over to stay soon. My earrings were almost completely strewn all over the bottom of the cupboard, leaving only a little space for other stuff.


What inspired me were two large, chunky plastic hooks on the top of the door of the cupboard that has been there for a decade. I tried to make do with those hooks, but they were too close together.


What I used was:

  • two adhesive hooks from my mum's stash
  • basic white thread
  • a bamboo skewer that has it's sharp end cut off.

This works only for those earring "boards" that come with something like a back "hook" running all along the back of the thing.


What I did was just stick the two adhesive hooks to the door of the cupboard, below the two chunky hooks mentioned earlier. I then made some loops with the thread by tying the ends together, then twisting it once like you would with a rubber band. From that double loop I made a smaller loop to loop over the hooks.


In the free ends of the thread loops goes the blunted bamboo skewer. I initially wanted to secure it with some blue tack, but it wouldn't stick. So now the only thing that's keeping the skewer in place are the earrings weighing it down.


This is completely temporary. Sooner or later the earrings are gonna be back where they were, strewn all over the place, and the hooks will most probably be for my small pouches or whatnot.

Friday, October 28, 2011

Tiramisu DIY & recipe

I've been making lots of tiramisu already, and I thought I'd share the recipe and also a DIY tutorial on how to reuse a cake board.


For the tiramisu, this recipe will show you how to make your own sponge fingers (a.k.a. savioardi), which costs significantly less than the store bought ones. Since these are homemade, you'll have to live with the fact that they won't be perfectly shaped. As for the filling, you have a choice of using mascarpone or cream cheese, depending on your preference of texture (mascarpone is smoother and creamier).


This isn't the prettiest of cake-boards, but in the event that you need one and can't get one immediately, this would be a fun alternative. I'll start with the DIY. You will need:

  • a used cake-board with the dirty paper/foil stripped off
  • tin/aluminium foil
  • scissors
  • glue/tape
  1. Pull out some foil, then put the cake board on it. Mark out an extra 1/2-1 inch on each side of the cake board and cut out the foil along the marked proportions.
  2. Think of it as wrapping a present - put the foil on a flat surface, with the cake-board on top of it. Make sure the foil is as flat as possible on the cake side, then pull the foil up the sides gently and wrap it around the edges of the cake-board. Slowly press the foil flat.
  3. Once the shape desired is achieved, secure the edges with tape or glue.

Now that you have your cake-board, you can start with your tiramisu~


For the sponge fingers, you will need:
  1. Meringue = 5x egg whites + 80g castor sugar, whisked until soft peaks
  2. 50g cornflour + 150g soft flour, sifted
  3. 5x egg yolks + 50g castor sugar, whisked until pale and creamy, preferably over simmering water (to test readiness of product, draw an "8" with the whisk and count to 5, if it stays until the 5th count, then it's ready)
Preheat oven to 200'C. Fold (1) into (3) in small batches gently to avoid deflating the meringue. Fold in (2) until just incorporated. Do not overfold. Spoon into piping bag in thirds. Pipe 2-cm wide and approx. 6-7cm long (depending on your mold) onto baking tray lined with silicone mat, quickly sprinkle with sugar and bake until just golden, approx. 5 minutes.

Do all this very quickly, as the meringue is prone to deflating and resulting in a rather biscuit-like product rather than the soft, spongey fingers that we want. The sprinkling of the sugar will help create a crisp top, and it would be safer to constantly keep an eye on them while they're in the oven because they are very prone to burning - they should only be a pale golden.

Once they're out of the oven, let them cool in another tray. I would suggest getting all this done before starting with the cream cheese mix, because that takes excellent timing.


For the base:
  • desired amount of espresso or black coffee, approx. 300ml for dipping the sponge fingers
  • 7-inch diameter, 2-inch tall round mold
  • at least 8-inch cake-board
  • some free space in the freezer and refrigerator
Put the round mold onto the bake board.

Dip/soak the fingers in the coffee, depending on the density of your sponge fingers. Mine usually turns out more cookie-ish than spongey, so I tend to soak them a little longer. To check the readiness, just take it out of the coffee and gently press it a bit. I should feel a bit rubbery-spongey, and no coffee should ooze out. If it still feels stiff, go for another dip. If you feel that it's already soggy enough, then by all means, use it.

Line the entire bottom of the area inside the mold on the cake-board (I don't think that makes sense). Fill in any large gaps with cut-to-fit pieces of dipped/soaked sponge fingers. However, the little crevices that can only be filled in by shreds can be left alone.


For the filling:

  1. 22g gelatin + 60g (or more if necessary) cold water, sprinkle gelatin over cold water and make sure the gelatin does not form a lump in the water. Have a pan of simmering water ready because the gelatin has to be activated and "melted" over some hot water. Keep topping up with cold water if it seems too dry.
  2. 5x egg yolks + 50g castor sugar + 1 tsp vanilla, whisked until sugar dissolves
  3. Chantilly cream = 150ml whipping cream + 40g icing sugar, whipped until soft peaks. Keep in refrigerator until needed.
  4. 250g cream cheese, beat until creamy OR 250g mascarpone cheese, gently creamed
Make the Chantilly cream first, then keep it in the refrigerator until needed later. Make sure not to overwhip or keep it in room temperature for too long as it will split. Do the whipping in parts, whipping, chilling then whipping again until the right consistency is achieved.

Fold (2) into (4) in portions, incorporating each portion thoroughly before proceeding to the next portion. Quickly, put the gelatin over the simmering water and stir occasionally, while you fold (3) into the cheese mixture. If you can, have someone help you do either the stirring or the folding. The gelatin should be a liquid when ready.

Again, if possible, have someone help you with this - while folding the cheese mixture, pour in the liquid gelatin. Mix well quickly, and as quickly as possible, pour this into the mold, until just a bit past the sponge fingers. Do this really quickly as the cheese mixture might leak from the bottom of the mold. Stick it into the freezer and the remaining cheese mixture into the refrigerator. Check frequently on the mold to see if the mixture has set.

Once set, quickly repeat the molding process, this time on the cheese. Dip/soak the sponge fingers in the coffee, then arrange them on the surface of the cheese. Pour over the rest of the cheese mixture, leaving a bit for the decoration later.

While the dessert sets, take the remaining sponge fingers, preferably of a consistent shape, and cut them into stubs of the height of your round mold. This will be the "sponge wall" that surrounds your tiramisu. Once the tiramisu is completely set, dip the flat side of the sponge fingers into the coffee, just to color the side a bit, take a bit of the still-creamy cheese mixture, and use it as a glue to stick it to the sides of the tiramisu.

To serve, run a knife along the sides of the mold, separating the tiramisu from it. Carefully lift the mold and cut the dessert into wedges for serving.


Of course, some parts of this recipe can be altered to suit personal preferences, but this was how I made it, and I'm quite happy that most who tried it said it was good.


This recipe is particularly good for those who need to take it out of the refrigerator for relatively long periods of time for whatever reason, because of the gelatin, it does not melt, but rather just softens. In total, you will need 10 yolks and 5 whites. You could use some of the remaining whites for a face mask or use it in cooking. While serving, do so in small portions as this tiramisu has cream cheese, cream, sugar, and lots of eggs, which would be a bit overwhelming for some.


Here are some pictures from the most recent time I made the tiramisu using this recipe. The funny thing was, instead of staying where they should have been, the sponge fingers somehow floated up to the surface of the cheese mixture, which kinda shocked me when I checked on it in the freezer.

This is what I found in the freezer - most of the sponge fingers had risen to the surface of the sea of cream cheese. See the bottom? The little bits of cheese mixture at the edges of the mold? That's what happens when you don't work fast enough and the mixture leaks out the bottom.
How it looks this time.
How the sponge fingers are supposed to be aligned (in yellow).
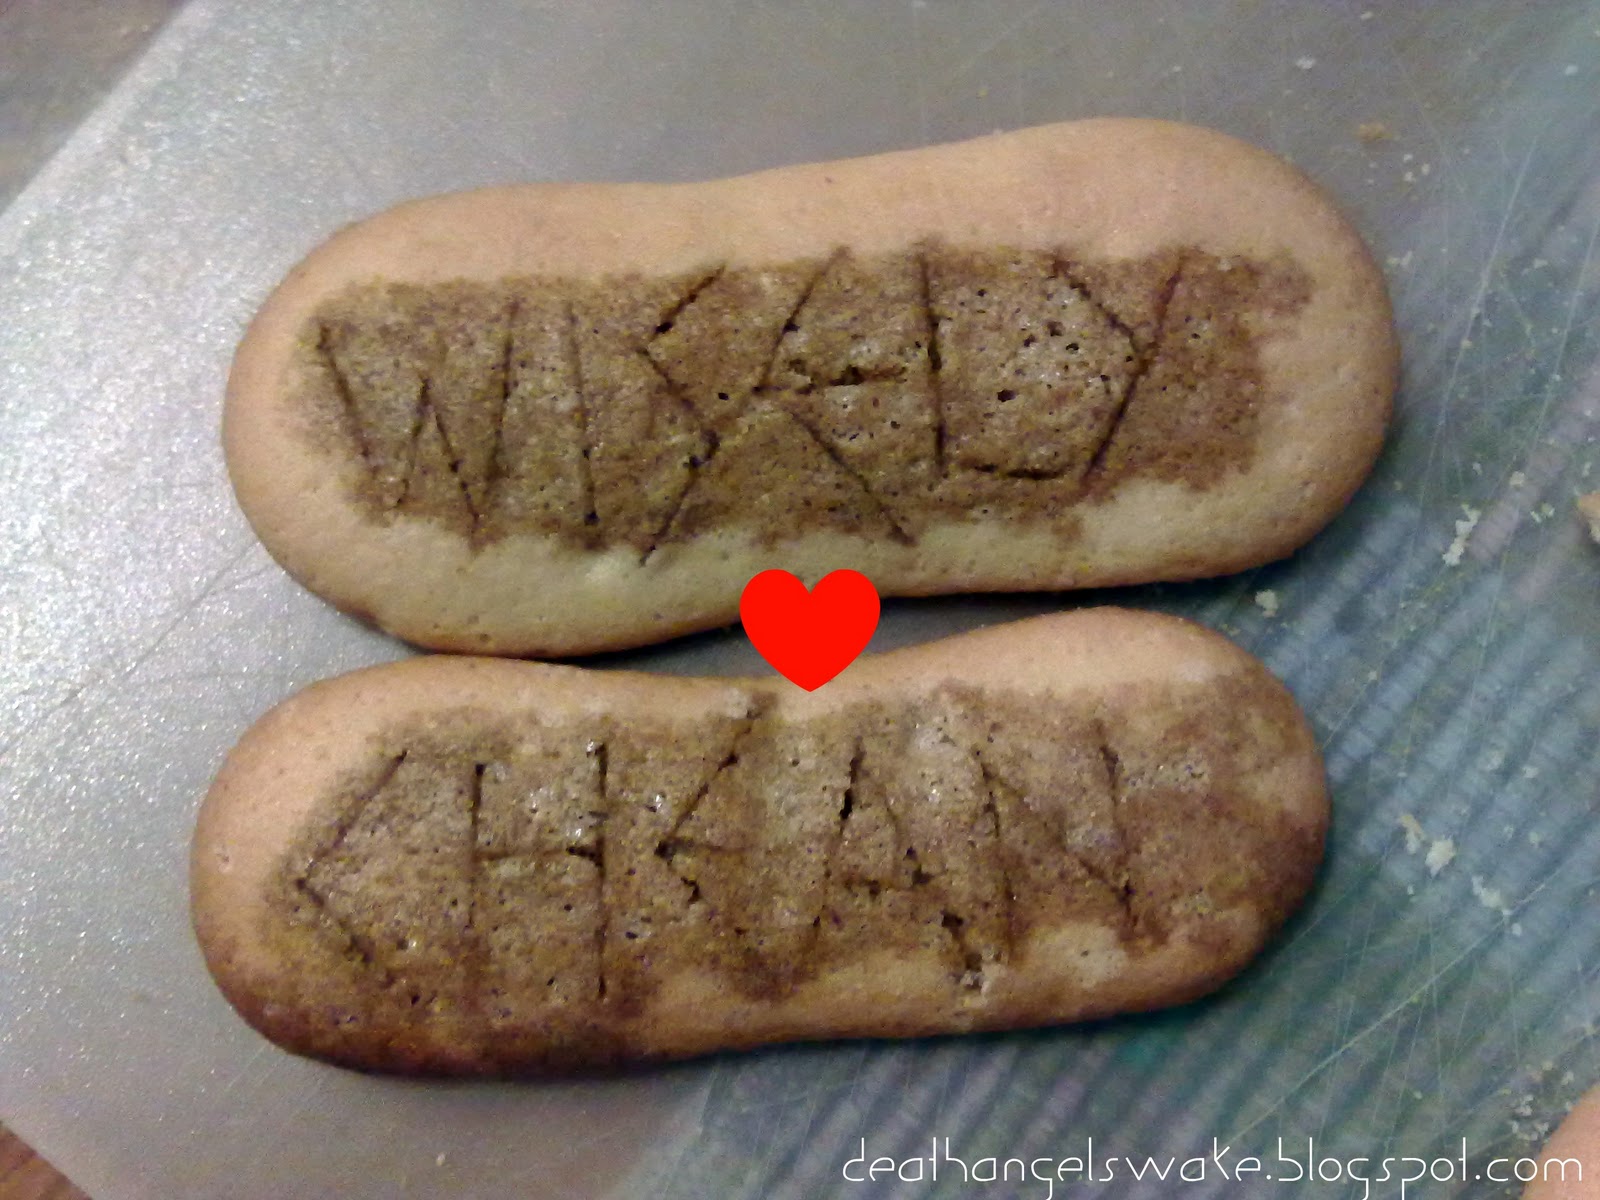
And with the remaining sponge fingers and coffee, my sister and I started carving out random words on the sponge fingers (since mine were pretty solid) with a small paring knife. Ignore the cheesy editing. =P