
The next idea was a heart made completely out of words, and ideally, all these words should say "I love you", and in different languages for an interesting twist. Kind of life a play on typography (you design peeps understand).
I didn't read much into it, though - I got what information I could from the pin, and didn't search any further and kinda hit-and-missed my way through doing the entire thing.
If you have PhotoShop or Illustrator, I don't think this would be much of a problem. However, for those less equipped (such as my humble self), here's one way to do it using Microsoft Word and Paint.
1. Decide which languages you want to use and get them in their native calligraphy/writing

What I did was just get a bunch of "I love you" translations off Google Translate for a half hour. My SO has a thing for Vitas, so I made a point to include Russian, and the more obvious English, Mandarin, and Korean.
Get all your text and put them into one Word document. You could do it straight in Paint, but doing it in Word first gives you more room for creative typography in terms of color and sizing. Try to have the words you want to stand out within the shape of the heart - a rough estimate would do, but try to center the key words.
2. Ctrl-C + Ctrl-V + Ctrl-S
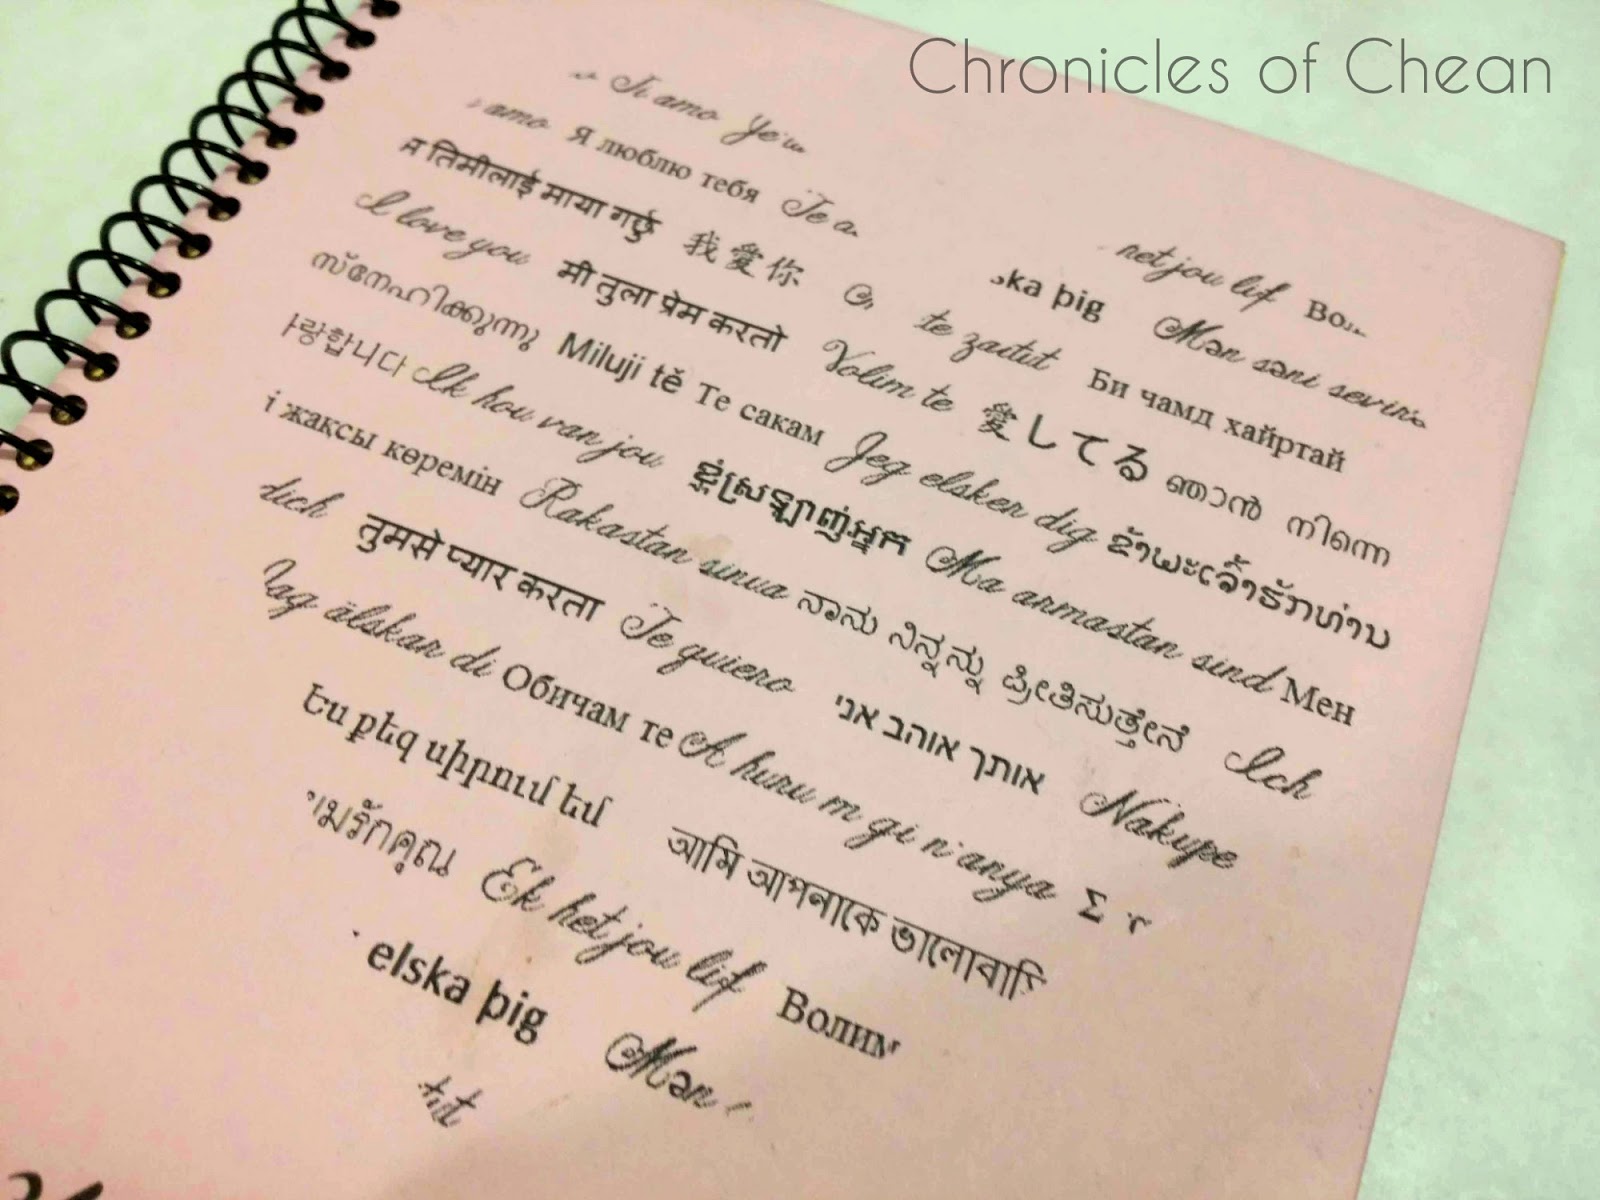
Get in a full page of text (I had a couple of lines repeated), edited it in color and/or size as you like, then select it all, copy, and paste it into Paint. I changed the font, evened out the text sizes, and justified the spacing, but left it all black.

Adjust the size of the canvas to fit the text. Once you're happy with the overall fitting, save it as a PNG file.
I saved mine as a JPEG file, while turned out a little pixelated when I continued to process and print it. Usually, PNG is used for electronic publishing, and JPEG for printing, but since I still had to use the image it should've been saved as a PNG.
3. Put the words into the heart
 |
| Draw the heart while holding down shift for a nice, square-aligned heart. Then adjust the size accordingly. |
 |
| Select the heart and Shape Fill with the PNG you just saved. |
 |
| Remove the outline to complete the word heart. |
 |
| I used this as a cover illustration, but you could use this for a greeting card as well. |
Ps. The width of the heart in the screenshots are different because I went back to recreate the heart for this post.
No comments:
Post a Comment