
I based this on my previous smokey eyes that I did for Jasmine, but added some little tweaks to it.
 |
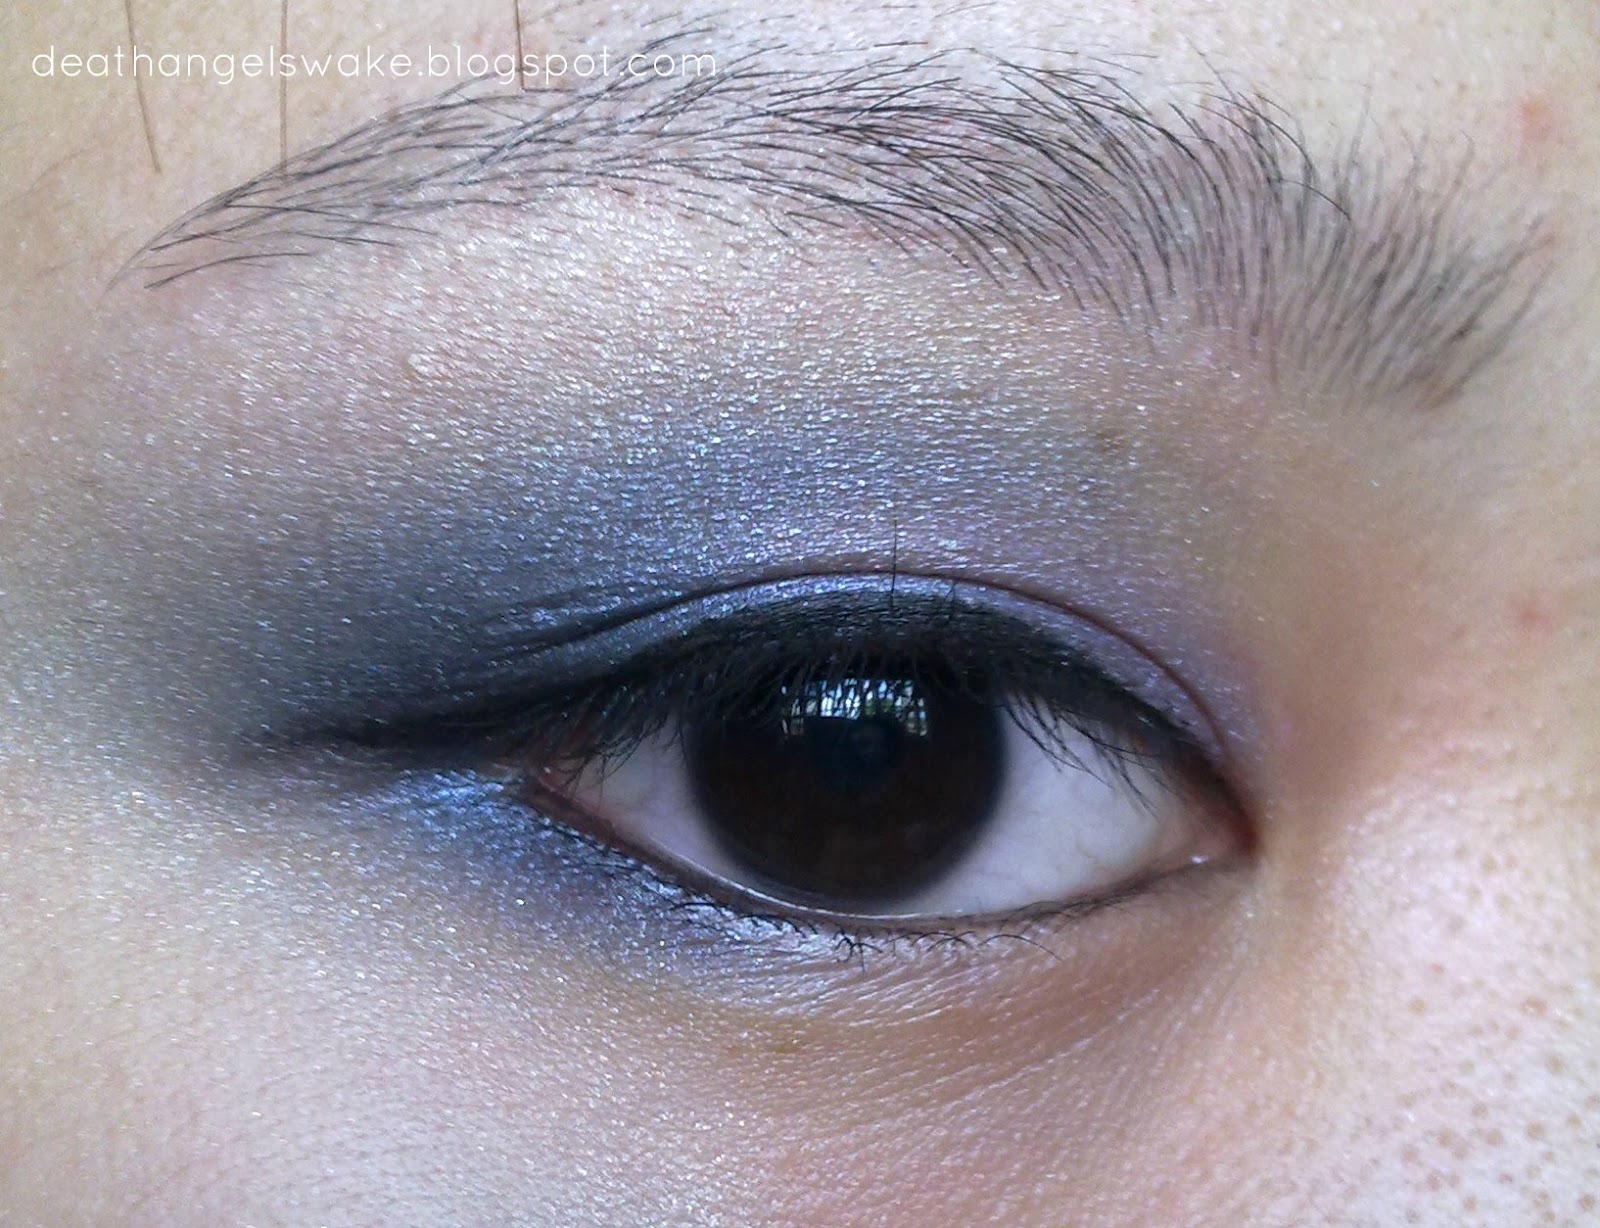
| START~! 100% no editing except for the caption! I'm trying to shy away from color correcting and blemish fixes~ |
You will need [what I used] (in order of application):
- shadow base/primer [shu uemura Creme Eyeshadow in Beige]
- silver grey shadow [#4 from 120 palette]
- metallic purple shadow [#22 from 120 palette]
- shimmery ultramarine blue shadow [#112 from 120 palette]
- dark grey shadow [#8 from 120 palette]
- black pencil liner [Elianto Ultra Define Eyeliner Pencil in Twilight Black]
- OPTIONAL black liquid eyeliner [Revlon ColorStay Liquid Eye Pen in Blackest Black]
- black gel liner [Silkygirl Double Intense Waterproof Eyeliner in Pure Black]
- black mascara [MaxFactor False Lash Effect in Black]
- eyebrow pencil [The Face Shop Automatic Eyebrow Pencil in Black]
- natural, defined false lashes [Daiso Make-up Accessory No. 50]
- concealer for dark circles [The Body Shop Oil Free Balancing Foundation in 05]
- foundation [Maybelline Clear Smooth Aqua Gel Foundation in Natural]
- setting powder [Pigeon Compact Baby Powder in Beige]
- contour product [Bobbi Brown blush in Blushed]
- pinkish blusher [pink + red rows from 120 palette]
- shimmer powder (for de collette) [Laneige Snow Crystal Sliding Pact in Translucent Skin Tone]
- lip balm [Vaseline Petroleum Jelly]
- gloss [Clarins Instant Light Natural Lip Perfector]

1.
Prime your eyes and apply the silver grey eye shadow on the brow bone. You could use a beige or any other highlighting color you prefer, but I wanted the look to be quite hazy. Apply your lip balm now.

2.
Apply the purple eye shadow, starting from the inner corner, working 2/3 of the way out. For Asian eyes, try to make sure that the purple eye shadow is visible when your eyes are wide open - my eye shadow usually just "disappears" when I open my eyes. Using patting motions for more saturation of color.
Sorry I forgot to take a picture of this step, but refer to the picture on step 4. The blue is applied on the same place.
3.
Apply the ultramarine starting from the outer corner, working in, up and out. Basically you want the shadow to be on the outer 1/2 of the eyelid, and as before make sure the eye shadow is visible. Also apply some on the outer 1/3 of the lower lash line. To help blend the colors seamlessly, take some of the purple shadow and gently apply it where the colors meet, gently blending toward the blue. The blue gives the upcoming gray a nice, hazy, mysterious veil to the look.

4.
Over the ultramarine, the gray shadow is applied. There's no need to be super intense about it, because if it were meant to be intense then we would've used black, but it's completely up to you. Apply some on the outer 1/3 of the lower lash line, as well. I like to use a fluffy brush, and applying it with swirling motions, so that the color blends better.

5.
Take a clean brush and blend everything together. If you find that the shadow has been blended too high, get the brush that you used for the highlight, then apply some more to the brow bone, but this time blending downward to help mellow the color. Use your fingers to help you, if required. Make sure everything looks HAZY - no harsh lines allowed.

6.
Line your upper and lower waterline, as well as the roots of your lashes (tightline) with a black pencil eyeliner. This will help intensify the look. Alternatively use some black shadow with an angled brush. You could do this before you start doing shadow.

7.
Line your eyes with gel liner. Try not to flick the line up too much, because the focus is on the haziness of the entire look. I prefer using a fine liner brush, dampened slightly with a bit of water. Keep lots of Q-tips, cosmetic wipes and/or make-up remover on hand to erase any mistakes. Try to keep the line extended straight out, about 3-4mm.

9.
Curl your lashes and generously apply mascara. Apply some on the lower lash line for a more wide-eyed effect.

10.
Fill in your brows. You just want them to look neat and defined, you don't want them to overpower the eye shadow. Thicker, straighter brows give a more youthful look, while thinner, more arched brows give a more grown-up, feminine and fierce look.

11.
A pair of natural-looking, yet defined lashes are perfect for this look. Try to stay away from overly sparse or overly thick lashes - remember, focus on the shadow. Blend your real lashes and the false lashes by either pressing them together gently with a lash curler, a pair of tweezers or your fingers.
 |
| Notice how the foundation doubles up as a concealer? |
12.
Conceal your dark circles and apply your foundation. Set the product by pressing matte powder with the sponge/puff provided. If you're using a brush, pat the product on instead of brushing/buffing it on.

13.
Contour your face by applying contour product in the hollows of your cheeks - suck your cheeks in, then brush from your hairline in the direction of your mouth. Don't put any too near the mouth and always remember to tap off any excess product from your brush before applying - layer on the color, don't punch in the color. Contour your temples and slightly contour your nose as well.

14.
Using a sweet pink blusher, lightly apply this on the cheeks - the most flattering place is the part of your cheeks that protrude the most, then blended slightly upwards toward the hairline. You could skip this step if you like.
15.
Using a powder with a hint of shimmer in it (fine shimmer particles, please), apply this right above where you applied your blush, your T-zone, bridge of the nose, chin and the cupid's bow. Also, apply some in the inner corner. If you're wearing a top/dress that shows your de collette (the thin skin between neck and chest), dust some of the shimmer powder for a nice, classy effect.
16.
Since the eyes are dramatic enough, you might want to finish off with some nude-toned lipstick, or a light pink. I just applied some balm and overlayed it with some gloss.
 |
| Sexy. |
 |
| Sweet. |
 |
| How about funky? |
Your look is now done. Sexy, cute, and pretty all at the same time. The trick to this look is all about the blending - don't be stingy with the blending, take more time blending, because in the end it's all worth it.
This is the first time that I actually worked with a pink blush. I usually don't like blushers because they make me look like I have inflamed skin. Your eyeliner should be thick enough so that the false lash band can blend easily with the look, but it shouldn't be so thick that it overwhelms the eye shadow.
You can get away with not blending your lashes with the false lashes for this look because it's dark enough, but it would look better if you blended them. Some people like to blend the lashes by applying more mascara, but I find that troublesome when it comes to the cleaning of the false lashes.
Oh, yes. I apologize for the unkempt brows - I had reshaped my brows earlier on, but due to neglect the overgrew and I can't get the shape that I previously did. So no I'm regrowing my brows so that I can reshape them again.
Oh, yes. I apologize for the unkempt brows - I had reshaped my brows earlier on, but due to neglect the overgrew and I can't get the shape that I previously did. So no I'm regrowing my brows so that I can reshape them again.
Here are a few things you can do to alter the overall look of the make-up:
- By having your color blended higher at the inner corner and tapers down and goes straight outward along the eye can give the effect of teary, innocent eyes.
- "Winging" the shadow, creating a wing-shape with the eye shadow, together with winged eyeliner will give that fierce, cat-like look.
- Using glitter would give that extra awesome clubbing make-up effect, but would be more of a hassle to apply, maintain and cleanup.
- Toning down the shadow and darkening the brows will add that extra strong look; darkening the shadow and maintaining the brows at a minimum definition will have men swooning at your mesmerizing gaze~
- Leaving out the blusher would make the entire look more serious.
NEXT TUTORIAL: FOUNDATION ROUTINE
No comments:
Post a Comment